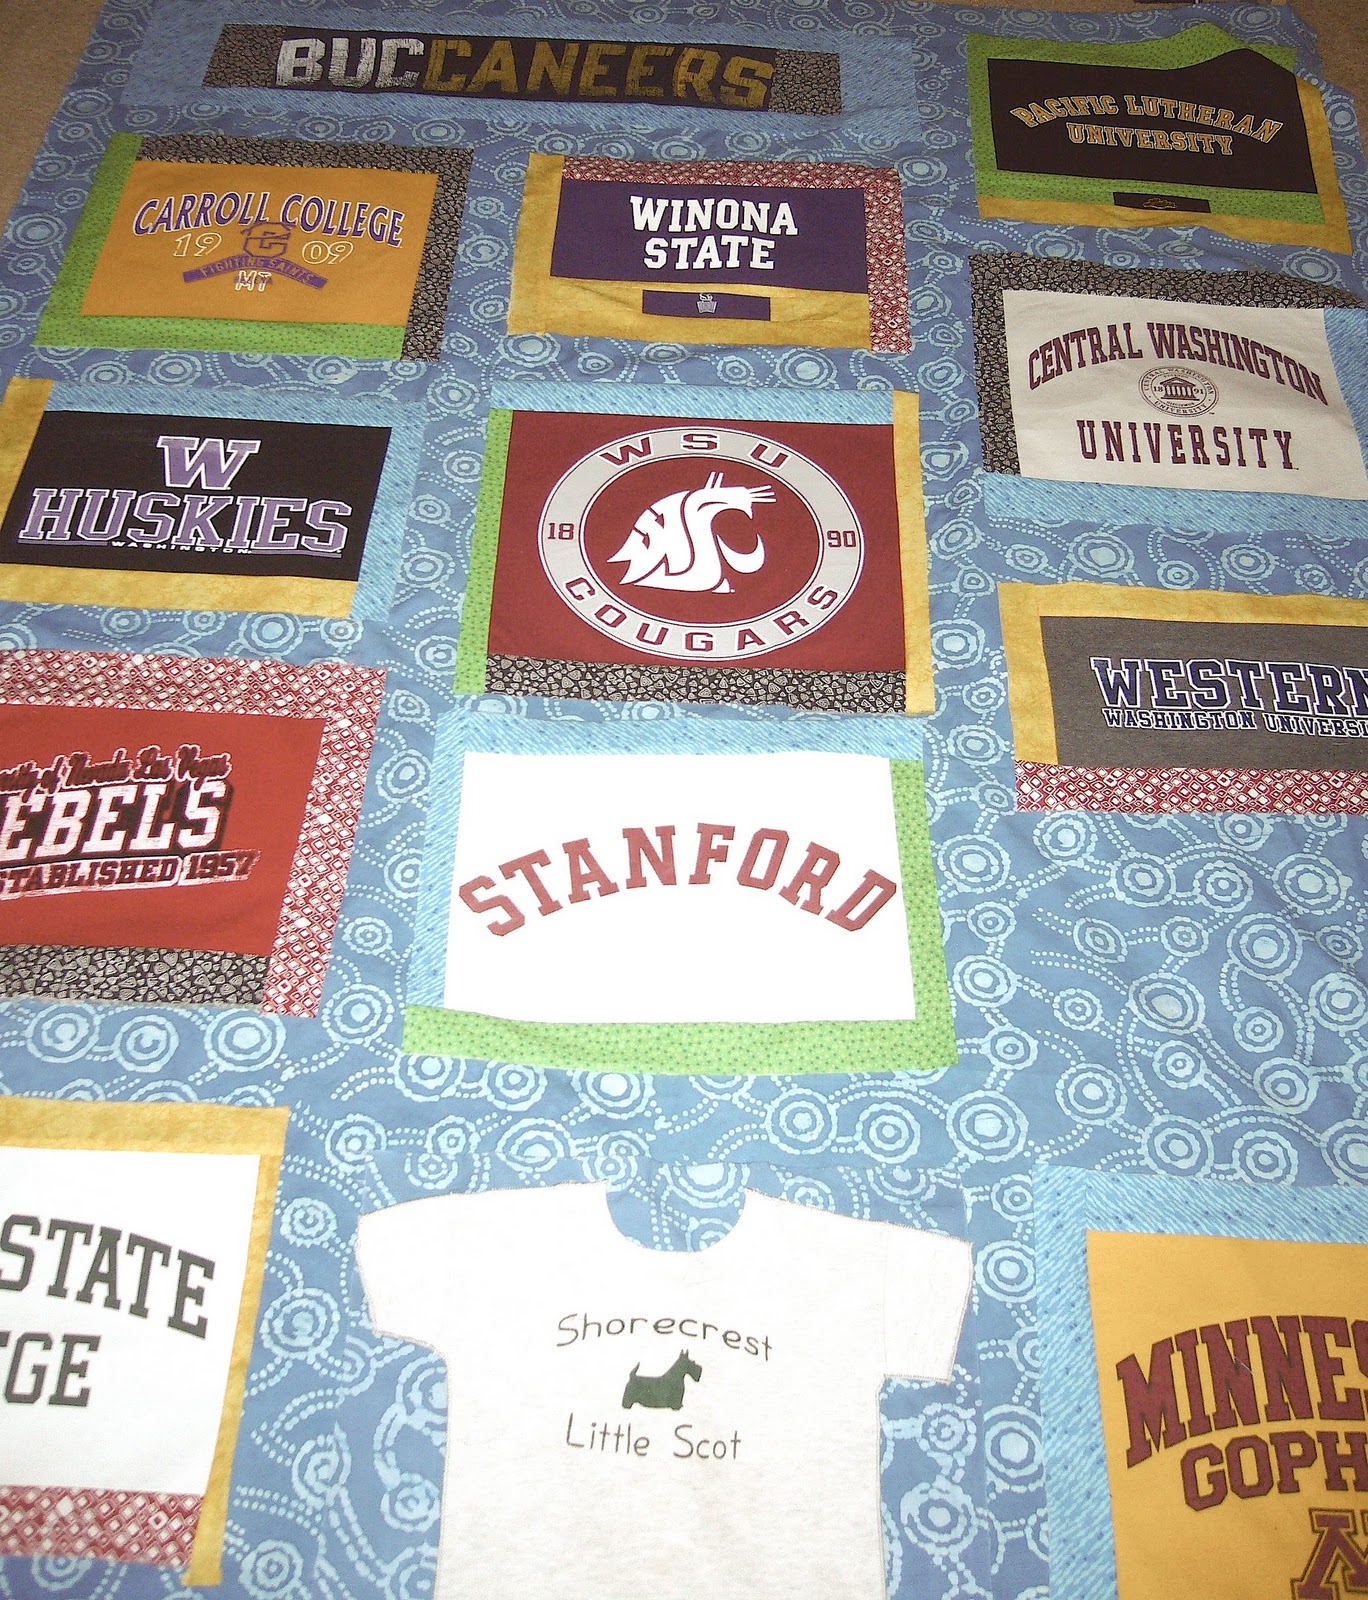
The T-shirt sections were laid out in a pleasing columnar arrangement, so no two shirts of the same color were right next to each other. Better to scatter these around, to "keep the eye moving" and prevent visual boredom! And larger sections were mixed up with smaller ones, for the same reason.
CH calculated that, given the width of the T-shirt sections she had, and the amount of fabric, the best plan would be to have T-shirt sections 16 inches wide, and sashing 3 inches wide. It all had to add up to 60 inches:
---|----------------|---|----------------|---|----------------|---
The four short sections are sashing; the wider ones are the three T-shirt sections.
Do the math: 3 + 16 + 3 + 16 + 3 + 16 + 3 = 60!
So - each T-shirt section had to be measured, and trim fabric had to be sewn to each one to make it 16 inches wide. Actually, each section needed to end up being a bit wider, because some of the width would be taken up by the seams used to sew it to the sashing. CH aimed to make each section end up about 17 inches wide, with room to tidy up unevenness.
Here's one section being measured:

You can see that this section is 14 inches wide, so three inches
of trim will be needed to bring it to 17 inches.
Trim could be added onto just one side of the T-shirt section, but CH thought that having trim on both sides would make for a more fun and colorful quilt. Therefore, each side would have a trim strip half the width needed to make the section 17 inches wide.
(Strips of this same width would also be added to the top and bottom of each T-shirt section. This would add extra height to the sections, which was needed to help stretch them out so each column of T-shirt sections would be the same length.)
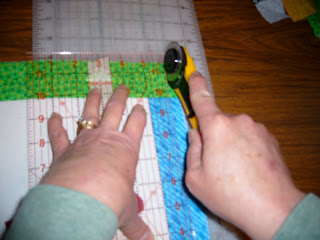
The best way to get a nice straight strip of trim fabric is to make a small cut on the edge of the fabric, then grab the sides of the cut and pull them apart to "rip a strip."

Here, a little cut has been made in some trim fabric at 2.25 inches.
That will make a trim strip of 1.75 inches when the sewing has been finished.
That will make a trim strip of 1.75 inches when the sewing has been finished.
Each seam allowance is .25 inches - so 2.25 + 14.00 + 2.25 becomes 1.75 +13.50 + 1.75.
This T-shirt section with trim will be exactly 17 inches wide when it's all done.
This T-shirt section with trim will be exactly 17 inches wide when it's all done.
There's a lot of math in quilting!
It was fun to pick colors for trimming each T-shirt section. They are all so cheerful! CH tried to make no section have the same trim color as its neighbor.

Sewing on a trim strip. Right side of the trim strip facing the right side of the T-shirt section,
then sew on the wrong side using a .25 inch seam allowance.
Conveniently, the distance from the needle to the edge of the sewing machine's foot is .25 inches,
so if the edge of the foot is on the edge of the fabric, the seam will be .25 inches!


 The shirt is laid out on the 16-inch-square piece that it will be sewn to.
Hmm, the sleeves stick out over the edge!
 Interfacing is cut for each section, and ironed on. None is put on the neckline ribbing.


As the T-shirt sections were completed, they were laid out on the backing fabric. Space was left between the sections to look like the 3-inch sashing strips that would be inserted later. Since the backing fabric was the correct finished size of the quilt, it was easy to see how the sections were fitting in. It showed there were some columns that would need "filler" to become the same length as the others.
Some of the T-shirts required extra thought and care. The back of the Beloit T-shirt has the word "BUCCANEERS" stretched out over the entire back, including the sleeves! When cut out, that section is wider than the 16 inches that each column is going to be - so it will have to take up two columns. But since it is not as wide as that, quite a bit of trim fabric must be used.

In this case, two trim fabrics were used to make the section wide enough to span two columns.
There wasn't much extra room for seams next to the B and the S in BUCCANEERS!
Two T-shirts (Pacifc Lutheran University and Winona State) had logos on the sleeves that we wanted to incorporate. It could have been done a number of ways. CH chose a way that would add extra length to the section.

The sleeve logo has been added; now yellow trim is being added on to the side,
and then it will be added to the bottom edge (under "Lutes").
This lengthened the section considerably, and added more color.
and then it will be added to the bottom edge (under "Lutes").
This lengthened the section considerably, and added more color.
Declan's own "Little Scots" T-shirt was the next to be tended to. It was cut so the entire front of the shirt could be used - this will preserve its "cuteness"! The hems at the bottom edge and on the sleeves were trimmed off, as they wouldn't take the interfacing well. Then the interfacing was ironed on. Each shirt part had to have its own piece, because interfacing won't stick to seams, either. Then the shirt front was pinned to a piece of the swirly blue fabric, and was stitched down. A zig-zag stitch was used to attach most of the shirt, but a blind-hem stitch was used on the neckline binding, to make it seem as if it were still a real opening.

Hmm, the sleeves stick out over the edge!


The shirt front is pinned onto the fabric for stitching.
The sleeves have been trimmed flush with the fabric edge.
Now the Little Scot T-shirt can be stitched to the fabric.

You can see the zig-zag stitches used to sew most of the T-shirt to its backing piece.
But the "blind-hem" stitches used to sew down the neckline are very hard to see!
As the T-shirt sections were completed, they were laid out on the backing fabric. Space was left between the sections to look like the 3-inch sashing strips that would be inserted later. Since the backing fabric was the correct finished size of the quilt, it was easy to see how the sections were fitting in. It showed there were some columns that would need "filler" to become the same length as the others.
Hmm, there is a LOT of empty area in that right-hand column.
There will need to be some "filler" over there!
There will need to be some "filler" over there!
And the left-hand column doesn't go as far as the bottom edge of the backing fabric -
it will need "filler" too.


it will need "filler" too.
Next, it is time to put sashing between the sections in each column. There will be at least one 3-inch piece between every pair of sections. Before adding the sashing strips, though, each T-shirt section had to be checked for correct width. Remember that each one was supposed to end up being about 17 inches wide? Now it was time to trim them to 16.5 inches wide.

Measuring the width of the UW Huskies T-shirt section
(although it looks like length, the way it's turned)

Hmm, one side comes to exactly 16.5 inches,
but the other side will need not-quite-a-half-inch trimmed. Tricky business!

A special knife called a rotary cutter is used here to trim away excess fabric.
Each T-shirt section was measured and trimmed this way.
Before sewing on the sashing strips in each column, some filler pieces had to be created, to add interest and (more importantly) to stretch the length of the two outside columns. After running through a lot of ideas that were less workable, CH decided on strips made with all five colors of trim, for the filler pieces. Not only did the filler strips add length, but an additional piece of sashing was called for with each one added.

A filling strip made of trim pieces is ready to be added between two strips of sashing
which have already been sewn on to the T-shirt sections above and below it.
When all the sashing strips had been added to each column, the results were laid out on the rug:

Without the backing fabric under them, the columns show up better!
Each column is 16.5 inches wide.

Two columns are the same length; the other is longer.
Something needs to be done to hook up the BUCCANEERS T-shirt section to the rest!
Can you guess what will happen next?